Hello to you all and I so do apologize for posting this late it's been one hectic weekend for me, I'm still not over it yet, feeling very tired and in need of a boost in the energy department. Not only have I had to unpack and reorganize all of my craft entourage i.e. demo products, dies of various descriptions, cardstock, embossing folders, glues, ink pads, tools, equipment, paper pads, etc. etc. etc.
Everything but the kitchen sink lol! and trust me I'm not laughing it all takes it's toll, as for the demo day it was much more hectic than I could have possibly imagined and I'm still trying to recover as Sunday was almost as busy, well no not really just didn't get chance to take time out and re-group so to speak so I have only had today well half of today to prepare for our classes this week and thankfully Louise had already given me some of Creative Expressions Stamps to work with so here's what I decided to do with them.
As always I have made two cards for our class, the first one is..... wait for it...... ha! ha! .....7x7 oh see you were so not expecting that lol! and the next is Mmmm!! a little different, you'll just have to wait and see........ all shall be revealed.
I guess our first card is quite floral and feminine because it includes butterflies and also has a subtle hint of sparkle.
Our second project is more of a shaped card but still has the floral theme and the Poppies seemed to be very relevant at this particular time, but they are also very popular throughout the rest of the year.
Don't want to go on too long so I'll just show you what I came up with and finish off because I seriously need to switch off for a good few hours before I blow a fuse. I'm convinced I know that I don't sleep walk but I'm pretty sure that I can die cut in my sleep and probably emboss to perfection like a crafter possessed. Ok before I go into meltdown here's our class for this week : )
So here's the thing can't get any good photo's at this time so I will post them a little latter, just to let you know I have used Colour Cloud Inks Lemon Meringue, Rose Blush, Crimson Kiss and Basil Leaf. Also used Distress inks Mowed Lawn and Fired Brick. Black Versatfine and Clear Powder. I added a touch of Starlight paint Cyclamen and Menthol to the flowers on the Dragonfly Mini Striplet stamp and some Diamond Sprinkles glitter to the With Love sentiment and the Poppies stamp.
OOOhhh!! How exciting you can't see what your going to be doing but you know it's going to be good ha! ha! lol!!!
Don't panic Mr. Mannering it will be alright on the night or do I mean day xxx.
Still very poor light so couldn't get one decent photo, oh well!
As you can see in the photo the Starlight paints in the background which I have used on the flowers and grass on the main image panel.
The butterfly embossing folder is from Sara's new range
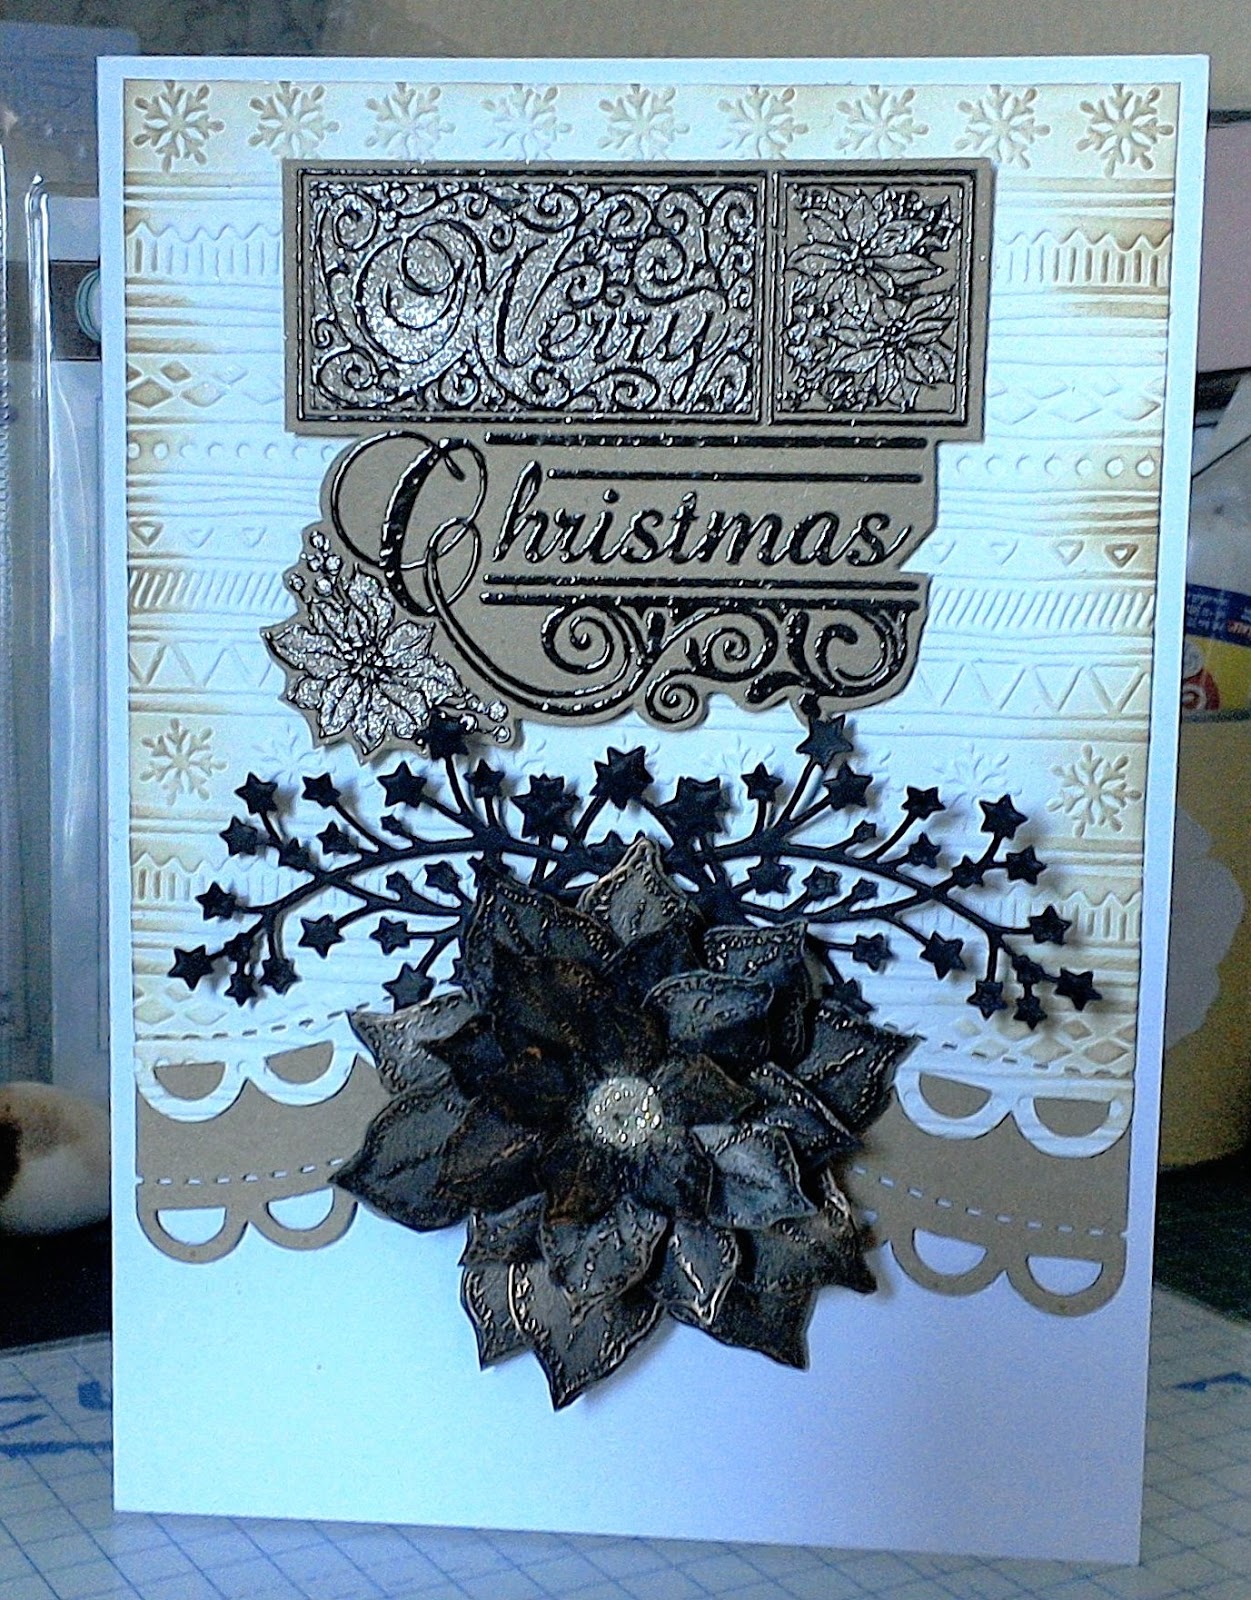
I know you can't really make it out but I have added some glitter to my die cut sentiment.
I have created a small rocker card and made a rosette to put the main image panel onto.
I have stamped and embossed the poppies in Clear Powder before stamping again with my Fired Brick Distress ink.
Again a touch of glitter has been added to the flowers.
The swirls have been die cut from silver mirror card.
The stamp sets are from Creative Expressions and the Watercolor Poppies are designed by John Lockwood.
See you later. : )


