MY CRAFTING ADVENTURE

My journey through crafting collecting goodies along the way x

Monday 24 November 2014

Tattered Rose by Tattered Lace

Hi all! Just thought I'd give you a quick heads up on the cards for this week here's a sneak type peak at what we'll be using and then later on today I'll post the finished cards so if anyone bought the Tattered Lace mag issue 11 then you might want to bring the dies with you as this will cut down on waiting time.
Back later with more photos x

Well where did that time go to? Anyway here is the first card. I have used Shaded Lilac and Dusty Concord D. Inks for the colour and my Quickie glue pen and Crystal glitter for the sparkle. The roses have been spritzed with Glimmer Mist Lavender Fields before beeing glued together and I found it much easier to shape the petals on the flowers using my tweezers. Once they were dry I added glitter. The ribbon and bow have also been coloured with the glimmer mist spray. For card two I have used Squeezed Lemonade And Wild Honey D.Inks, not got a photo yet as it's not quite finished but it also has a rose on it and is a 6x6 square card and very simple in design as I think the rose is quite a prominent feature and they do take a little time to die cut and make up but are worth it in the end. I used my tackey glue as this was best to glue them together. Strong sharp scissors are needed to trim the base once the flowers are dry before they can be added to the card. The die cut leaves have been highlighted with a glue pen and the crystal glitter. The sentiments have been stamped in Black Versafine and embossed in Clear Powder. Think that's all for now don't forget your tweezers lol! See you soon x GLIMMER MISTS - These I used on the second card - Sunflower, Yellow Daisy and Lily Pad (pale green)

Monday 17 November 2014

Ooohhh!!! A Present! - For Me???

Well you see !!! Just isn't enough hours in a week let alone a day lol!  I started with all good intentions this morning to be done and dusted by 2.30pm at the latest as other things that required my attention were all queuing up and demanding next in line for sorting but as you all know it never rarely goes to plan when your'e crafting away and trying to get it just so, however these things are sent to try us and boy did they !!
Not to worry hey it's all good in the end or so I'm lead to believe, well we shall see.

Once again yet another stamp set by Woodware - Christmas Present -  and yes I hope I've been a good girl and get at least one which will be a blessing and it doesn't have to be too large I might add substantial will suffice lol! just kidding, well maybe!!!  Ha! ha! anyhow onto the cards for this week.................................

First one on the agenda is 8x8 no surprise there then !

The large background panel has been coloured with Antique Linen and embossed with the Vintage Bows embossing folder and then highlighted with Black Soot D I.


The smaller background panel is from a 12x12 background paper. I have stamped  the Presents in black ink and heat embossed with Clear Powder.
Next I embossed the paper with Sheena's Holly embossing folder just down one side and used my Gold Gilding Wax over the embossed area.


The main image has been stamped onto black card with Clear Ink and heat embossed with Gold Powder. I have used some of my Star Dust Stickles Glue to add a little sparkle to the Present but it's really hard to see on the photo's sorry.


I drew around the background paper with my Black Fine liner pen.
Card two - you've guessed it it's a
6x6 and proved to be a bit of a challenge this time as the main image stamp is quite a large size so I decided to hide it behind my die cut Christmas Tree and I think it works - Just!

With that said you really don't need very much to complete a card with this set of stamps.


As you can see the Die cut Tree in black card has been embossed with my A4 Snowflake embossing folder from Crafters Companion , and I have added my Silver Gilding Wax this time.


I also added a little of the Star Dust Glitter Glue to my snowflake tree and the small presents but you can't really see it on the photo's which is such a shame because they look so much better in real time.....

The D Ink's I used in the photo are
Tumbled Glass, Evergreen Bough and Peacock Feathers.
Black Soot and Antique Linen.


Well once again that's it for this week hope I've remembered everything this time!
But you know what I'm like lol!

See you soon x
Sheilagh.

P.S.
Esther hope you are feeling better soon xx

Monday 10 November 2014

Happiness is like a Butterfly

Hello! hope you are all OK and to those of you who aren't feeling too well at the moment I hope you all feel better soon.
My! is it just me or is it much colder right now it didn't seem too bad this morning I think I should go and click the heating on before I go any further as my little tootsies are a tad chilly.........................................
Aaahhhh! that's better and would you believe it I was accosted by a little black cat who had decided it was her feeding time so with that out of the way we can now get on with the important things Butterflies no less!

This week as you may have already gathered is nothing to do with Christmas Yes it's a stamp set from Woodware with a rather nice verse on it as the main feature along with two small butterflies. This stamp would work with any other images or dies of your butterfly collection and let's face it I've only ever met one person who had a dislike for them, don't understand it as I think they are so beautiful and look wonderful on your cards and other projects.

Here goes then have a look at what you will be making this week - : )

Card one is 8x8
 OK first of all I am going to apologise for the poor quality of the photo's this week something is wrong and I couldn't upload the photo's that I had edited so that you would get a better picture so instead I have had to send them again from my phone and they are not the best as the camera on my phone only works when it wants to, not to worry you know that they will look better when you get to class and see them for yourselves.
Well I hope so anyway lol!!!!


Distress Inks
Shabby Shutters
Mowed Lawn
The Butterfly Die is a Marianne Design CrafTables
and it cuts beautifully. I have used a green Mirror card on these two.

Card two.
I have stamped the verse in Black Versafine and embossed in Clear Powder 


The Background paper is from a 12x12 sheet of Basicgrey Wisteria called Lilly Kate and shares the name with one of my granddaughters.

I have used the two small butterflies to over stamp the paper with Dusty Concord and Shaded Lilac.


 I used my gold Spray and Sparkle over the stamped verse once I had distressed it in the lilac ink.
I don't know if you can see it or not but I did create a border on the background panel behind the verse with my Glue pen and some Crystal Glitter.

I did add another little sentiment to the bottom corner but that was after the photo.

This time I die cut the Butterfly out of Centura Pearl card and inked through the die with my lilac ink, sorry the pics aren't showing the details very well.
Once again like last time I have drawn some far from straight black lines to frame the verse and the background paper.

Well that's all folks as they say in La La Land!

See you soon  : )

Sheilagh x

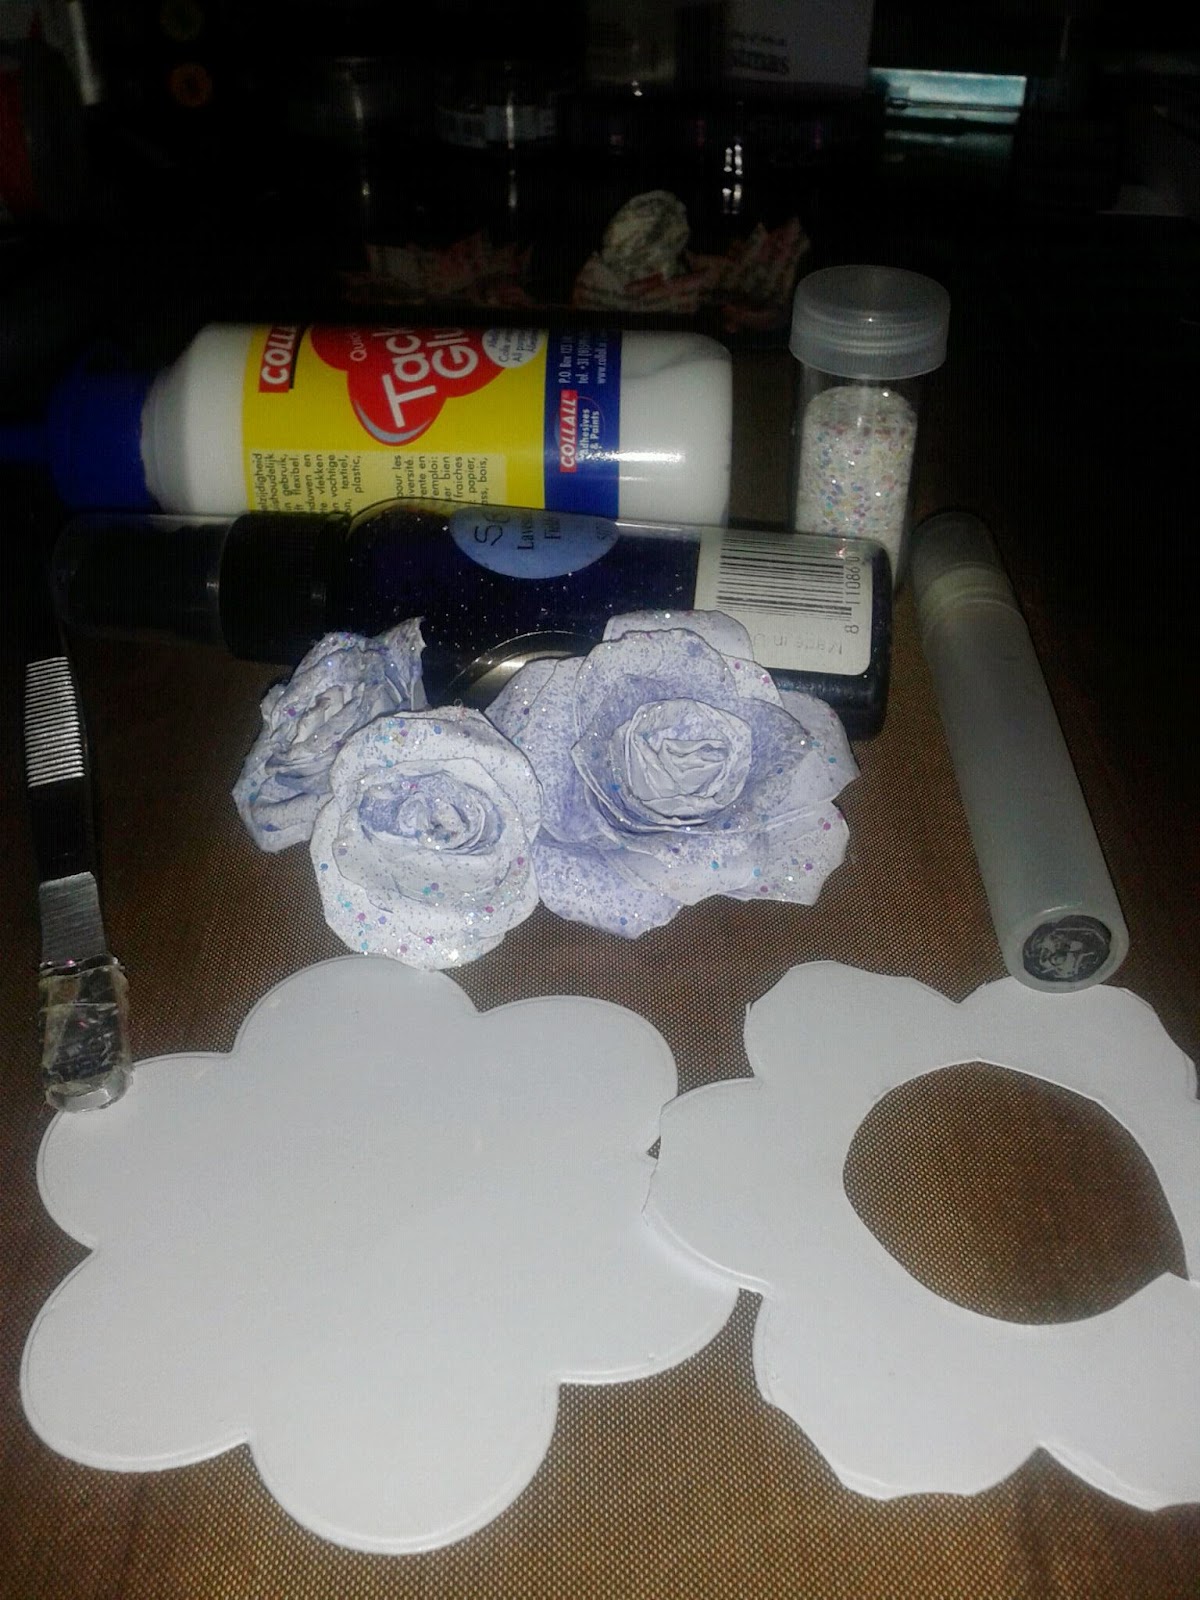
P.S. Thought I just might share with you something that I started on Friday evening this is a Before photo and when it's finished I'll post an After photo for you to see it just needs it's glitter and embellishments to go on.


It's a folded Paper Book Christmas Tree.......


I have glittered it since these photo's were taken and die cut some small poinsettia flowers from the same pages of the book and inked them a little, think it's going to look really good when it is finished.......

Monday 3 November 2014

We Wish You ~~~la' la' lala~~~

At last I here you cry! Hi everyone just about made it, these weeks are getting shorter and shorter no sooner have I posted classes on a Monday and it's weekend again well at least I don't have any work this coming Saturday dare I say! so things won't be so much of a rush and I might even get chance to breath lol!
Lets make it short and sweet for this week as I have taken photos of the cards on my phone and we all know they are never as good as my camera.
This week I have used two stamps from Woodware one is a script like background with the words from We Wish You A Merry Christmas and the other which I think can be useful as non Christmas or Christmas is a basket of poinsettia's with trailing ivy. See what you think I think you could make them in any colour.
I used Faded Jeans, Chipped Sapphire, Black Soot, Black Versafine and Slate Grey Adirondack and of course Clear Powder. I added a touch of my Silver Gilding wax and Star Dust Stickles glitter glue and coloured with my pencils in blue, greens and a grey. Hope you like them, I did used a little bit of Glycerin onto blending foam with my blue ink on the stamped background.
See you soon x