MY CRAFTING ADVENTURE

My journey through crafting collecting goodies along the way x

Thursday 28 January 2016

Crafter's Inspiration continued from yesterday!

Sorry folks darned internet went off and when it came back on it was too late to post the pics for the other card so here they are now


see you all soon x

Wednesday 27 January 2016

A Little Crafter's Inspiration + New Alchemy Waxes from Imagination Crafts

Hi, can't believe this time of the week is here already and not only that but it's almost February, STOP it please! can't keep up the pace must be getting too old lol!
Hope you're all at home keeping warm and dry I for one don't fancy venturing out today not in that wind got wet enough yesterday not once but twice going backwards and forwards to classes at least I can stay home but not to relax as I will be crafting like a crafter possessed making samples for my first demo of the year which is on Saturday. Louise and Ian went off to Spain in the early hours of this morning wonder how their flight went in all of this so called stormy weather, don't think it reaches to Spain lucky people although I know for a fact they are going to be busy this week (happy moving day by the way) hope it goes smoothly for them.
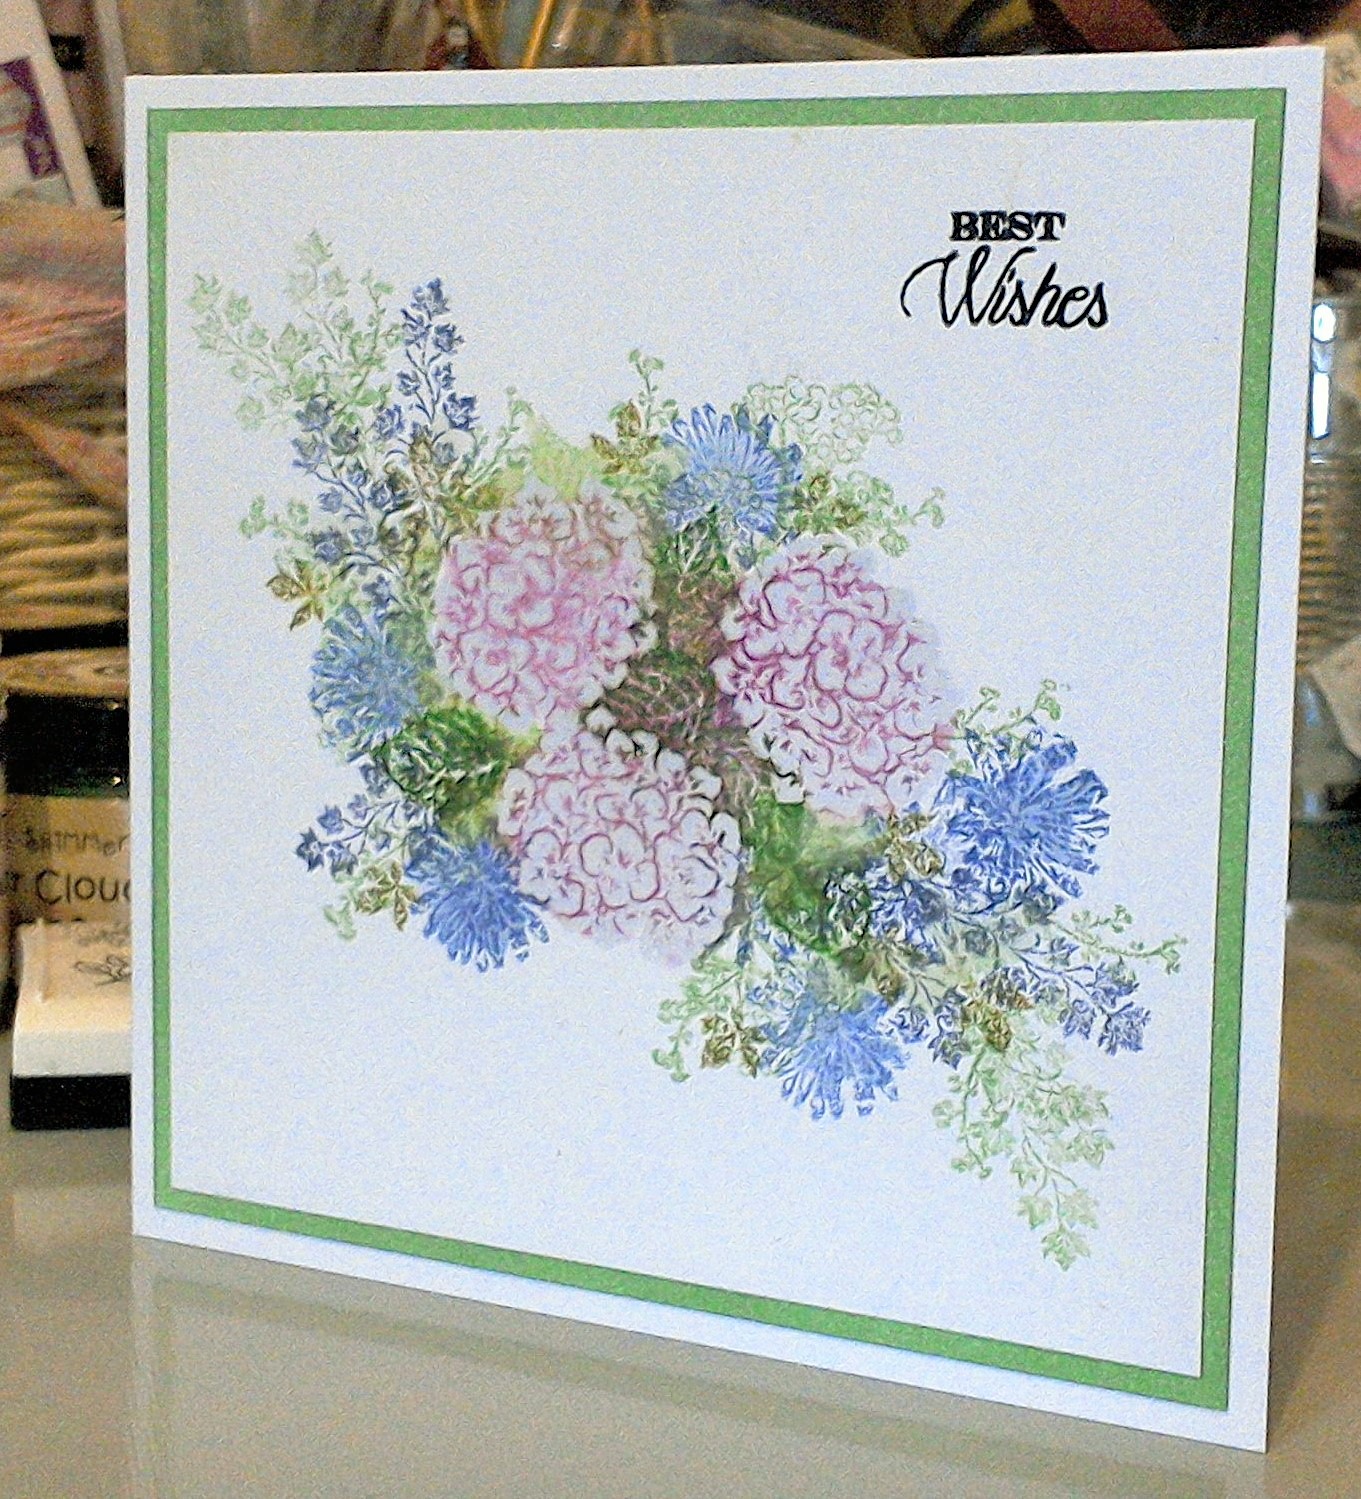
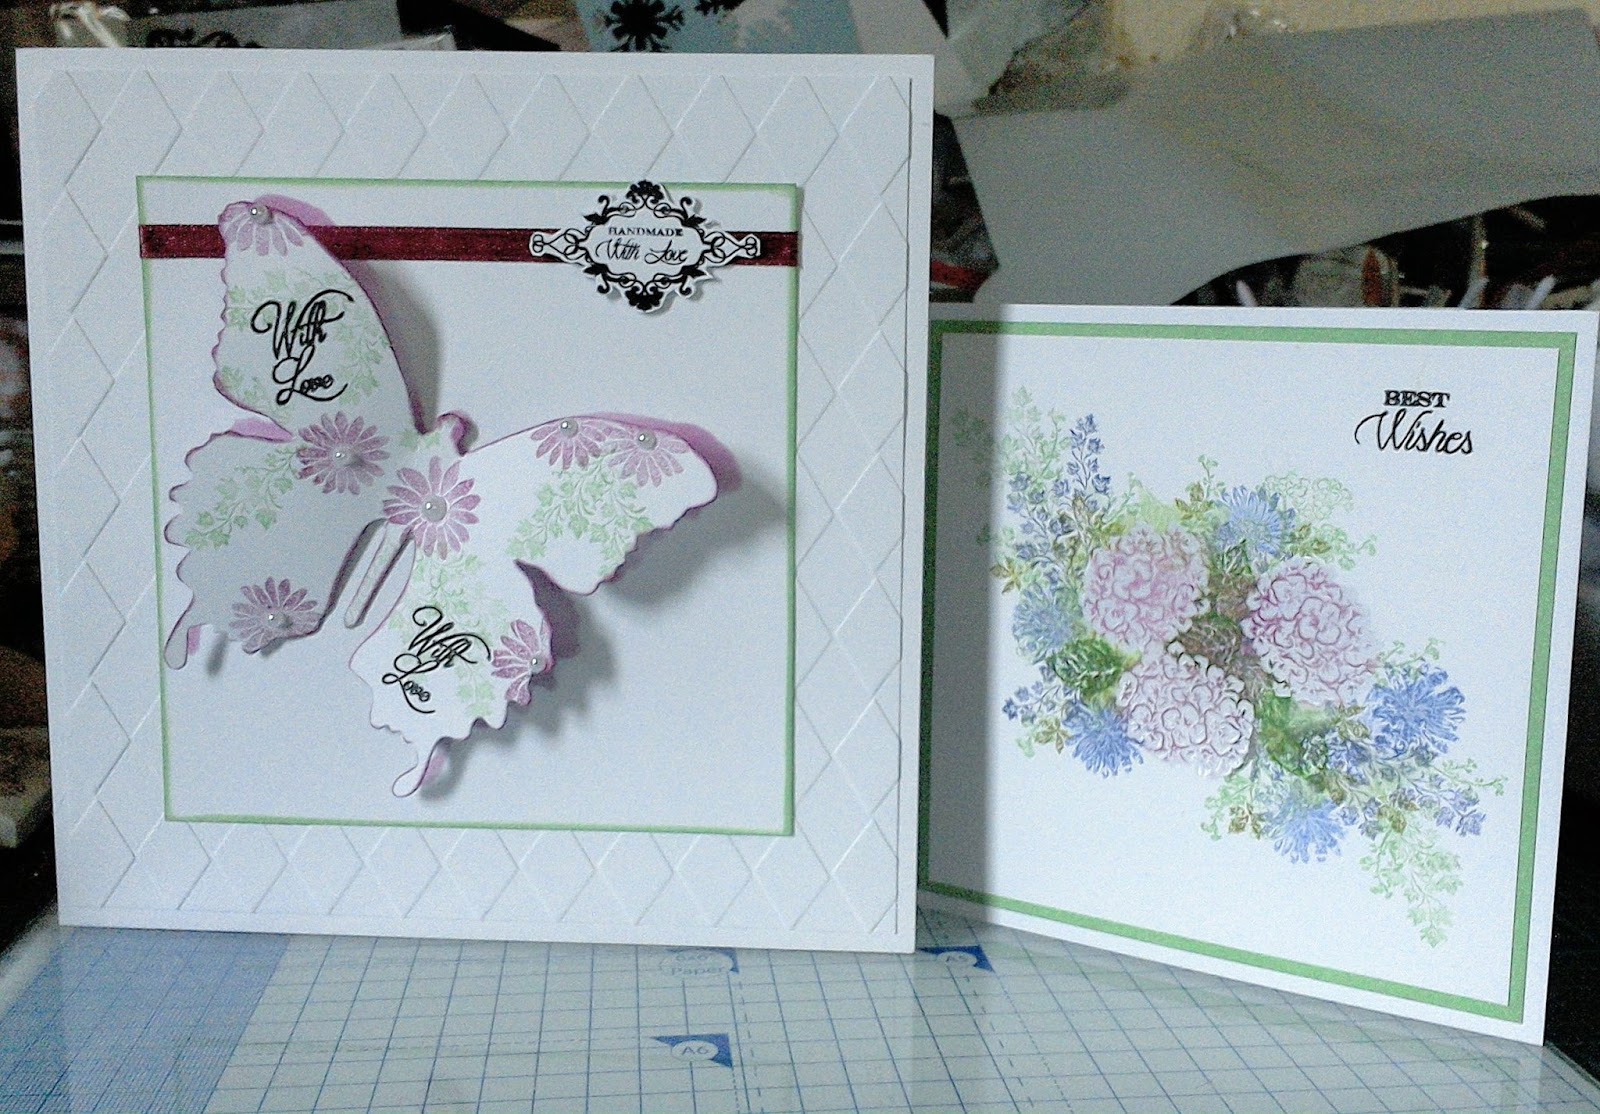
This week's classes........ thought we could re-create one of the cards from the latest issue of the Crafter's Inspiration magazine as I know most of you have ordered it and you will be pleased to be informed that they have now arrived in the shop.
I have decided to give you a sneak peek at another new product from Imagination Crafts which will be coming very soon in a couple of weeks time. These are the new Alchemy Waxes in stunning colours and they are all water based so I decided to have a go at painting with them and joy of joys they worked like a charm beautifully.
I've taken a photo of the ingredients used and I will have to go and finish off my second card so I will pop back later with some more pics for you but for now this gives you some idea what's happening in our classes.....


As you can see I used my White Gesso and a flat ended paint brush to paint over the Kraft card.

Black Versafine and Clear Powder.

Anti-Static Bag.

The background stamp is from Sheena's Wild Rose Briar and also the stamp set from the new magazine Crafter's Inspiration.

To paint the images you need a fine tip brush.


Sorry but these photo's don't do the Waxes justice as you will see when you make the cards for yourselves.


I did add a touch of Forest Moss Distress ink around the edges after I had finished painting.


So there you have it my rendition of the card recreated from the magazine, I'll pop back in a while to add photo's of the next card as soon as I have finished it.
See you later.


Wednesday 20 January 2016

Puzzled Butterfly post continued........

Morning, didn't manage to get the photo's done yesterday after all so I have taken them this morning as the light was much better so as promised here's the cards for the next couple of classes.


 Stamps by Magenta.


Black Versafine
Clear Powder

Turquoise Pool Colour Cloud
Ink.


Blue Starlight paint.


Distress inks
Squeezed Lemonade
Ripe Persimmon


Both cards are 5x7 in size.

I have changed the colours on this card by adding in some Rose Blush and Plum Cobbler Cloud inks.


Silver Starlight paint has been added to the inked and embossed background panel with some cut n dry foam

Background coloured with Summer Sky
Colour Cloud ink.


The main image panel has been covered with Clear embossing ink and clear powder to glaze.


That's it for now see you soon.
Sheilagh


Tuesday 19 January 2016

Puzzled Butterflies - Magenta

Good morning folks, hope everyone is feeling better as this rather nasty cold/flu virus seems to be hanging around for far too long as most of the people I know have just got rid of it or are just starting with it and I for one hope to have seen the last of it for ever lol! You Know that ain't true and I wish the weather would buck up a bit as it's not helping matters in the slightest.
In the next classes we will be using a set of stamps from Magenta by the name of Puzzle Butterflies, bet that's got you all wondering? Well this is a lovely set that you can do so much with as initially it appears to be just one large background stamp but in fact it is nine separate stamps plus an extra butterfly one, very useful this set.
I'm going to give you a quick peek for now to let you see what I mean and then I will be back later when I have taken more photos of the finished cards as the light is so terrible at the moment so pop back in a while to have a look, T T F N


I'll give you a full list of all the products I've used when I post the photo's later on today.


Wednesday 13 January 2016

Daisy Chain Elements - Designed by John Lockwood.

Hi! Hope you are all ok this week, can't believe it's the second week of January already and I even heard someone mention this week that the Olympic Games will be starting soon What! how quick has that time gone, unbelievable. Anyway better move on seen as time won't slow down and give me chance to catch up lol!
This week I have used a stamp set from Creative Expressions - Daisy Chain Elements - designed by John Lockwood, and there are quite a few really nice sentiments on this set it has to be said which are always useful to have in your stash especially if you like me don't go big on inserts and I know that some of you prefer to have one in side your cards but I guess it's each to their own at the end of a crafting session and it matters not, what does matter is the fact that you made a card for someone in mind........ and you get to enjoy yourself into the bargain so win win. Oh dear I could go on all day but I won't instead I'll show you the cards and tell you what I used.


Colour Cloud inks
Decadent Wine
Rose Blush


8x8 Card

Here you can see I have stamped the daisy frame onto parchment in clear ink and embossed with WHITE POWDER then coloured with Decedent Wine Colour Cloud ink and a mini egg blending tool.
The die cut swirls are from Sara Davies Floral range.
Distress embossing folder from Crafters Companion.


A4 half fold card (C5)

The die cut and embossing folder is again from Sara's Signature Collection, and the ink is Turquoise Pool.

The small daisies have been stamped in black Versatfine and embossed with Clear Powder then painted with my Starlight paint.


Don't forget I used White Embossing Powder on the Daisy Frame like I forgot to put it in this photo lol!

See if you can spot the other ingredient missing from this picture I know but do you ?


Think I might add a little something extra to this card as it doesn't quite look finished to me but I'm not sure yet can't make up my mind, you will have to wait and see.


See you all soon.
Sheilagh

Tuesday 5 January 2016

2016 - Small is Beautiful - Do Crafts


Well finally Happy New Year to you all, and I truly hope that it's going to be much better than last year as I for one have had my fill of being ill, feeling tired and sick to death of bad news and on the whole down right miserable because of it all, think it's time to make a change for the better I am so over last year and looking forward to a better one and I wish it not just for myself but for everyone who needs it....... On that note let us move forward and onto our first class of this 2016 which I must add starts on Thursday this week.
Small and beautiful is how I would describe the stamp set we will be using from Do Crafts and totally value for money with the amount of stamps you get in the set, they are just perfect for so many different projects.
I'm not going to waffle on so I'll make this post short 'n' sweet and let you see what's going to be our first class using the stamps along with some of the Colour Cloud inks and a few other bits and pieces.


I have used a couple of shades of green plus a denim blue and a purple-blue shade plus a deep pink.


Clear ink pad

Black Versafine

Clear Powder


This first card is 6x6 in size and I simply built up the design with the very pretty floral and foliage stamps.

I have used the Colour Cloud inks to stamp with and I found it best to apply the ink to the stamps with my mini egg blending tools.


Now for card two which is 8x8.

Sweet but simple by design, I decided to use a die cut shape for the main image which I have stamped a pattern onto in a random fashion. I inked through the waste from the die cut using it as a stencil to get the shadow effect under the butterfly.


The sentiment stamps are from - Sara's Signature Collection and the A4 embossing folder came with the Cut n Boss machine.


The butterfly die is by Tim Holtz.


So that's it for now see you all soon

Shelagh x