MY CRAFTING ADVENTURE

My journey through crafting collecting goodies along the way x

Wednesday 18 March 2020

Elements and The Garden of Love

Hello everyone, well what a state of affairs, hope you're all keeping safe and well in these unpredictable times we find ourselves in right now. Wasn't sure that the classes would continue so just incase I have prepared a couple of cards that will be for tomorrow's class but this could well be our last for a while who knows?????? Okay let's not dwell on that for now and I will move on and tell you what I have used on both these 7x7 cards.
Harmony blending ink pads in a few colours
Finger Daubers
Tri blend pens
Copper pearl Opal polish
A variety of Crafters Companion new Products (see photo)
The usual Black ink pad and glues
Think that covers it all for now
Click on the photo to enlarge

Butterfly die is from Vintage Lace collection
Mandala mask is from Creative Expressions
Gemini Element dies
3D Embossing folder from Garden of Love collection
Background from the Layering stencils

Paper from the 12x12 Garden of Love paper pad


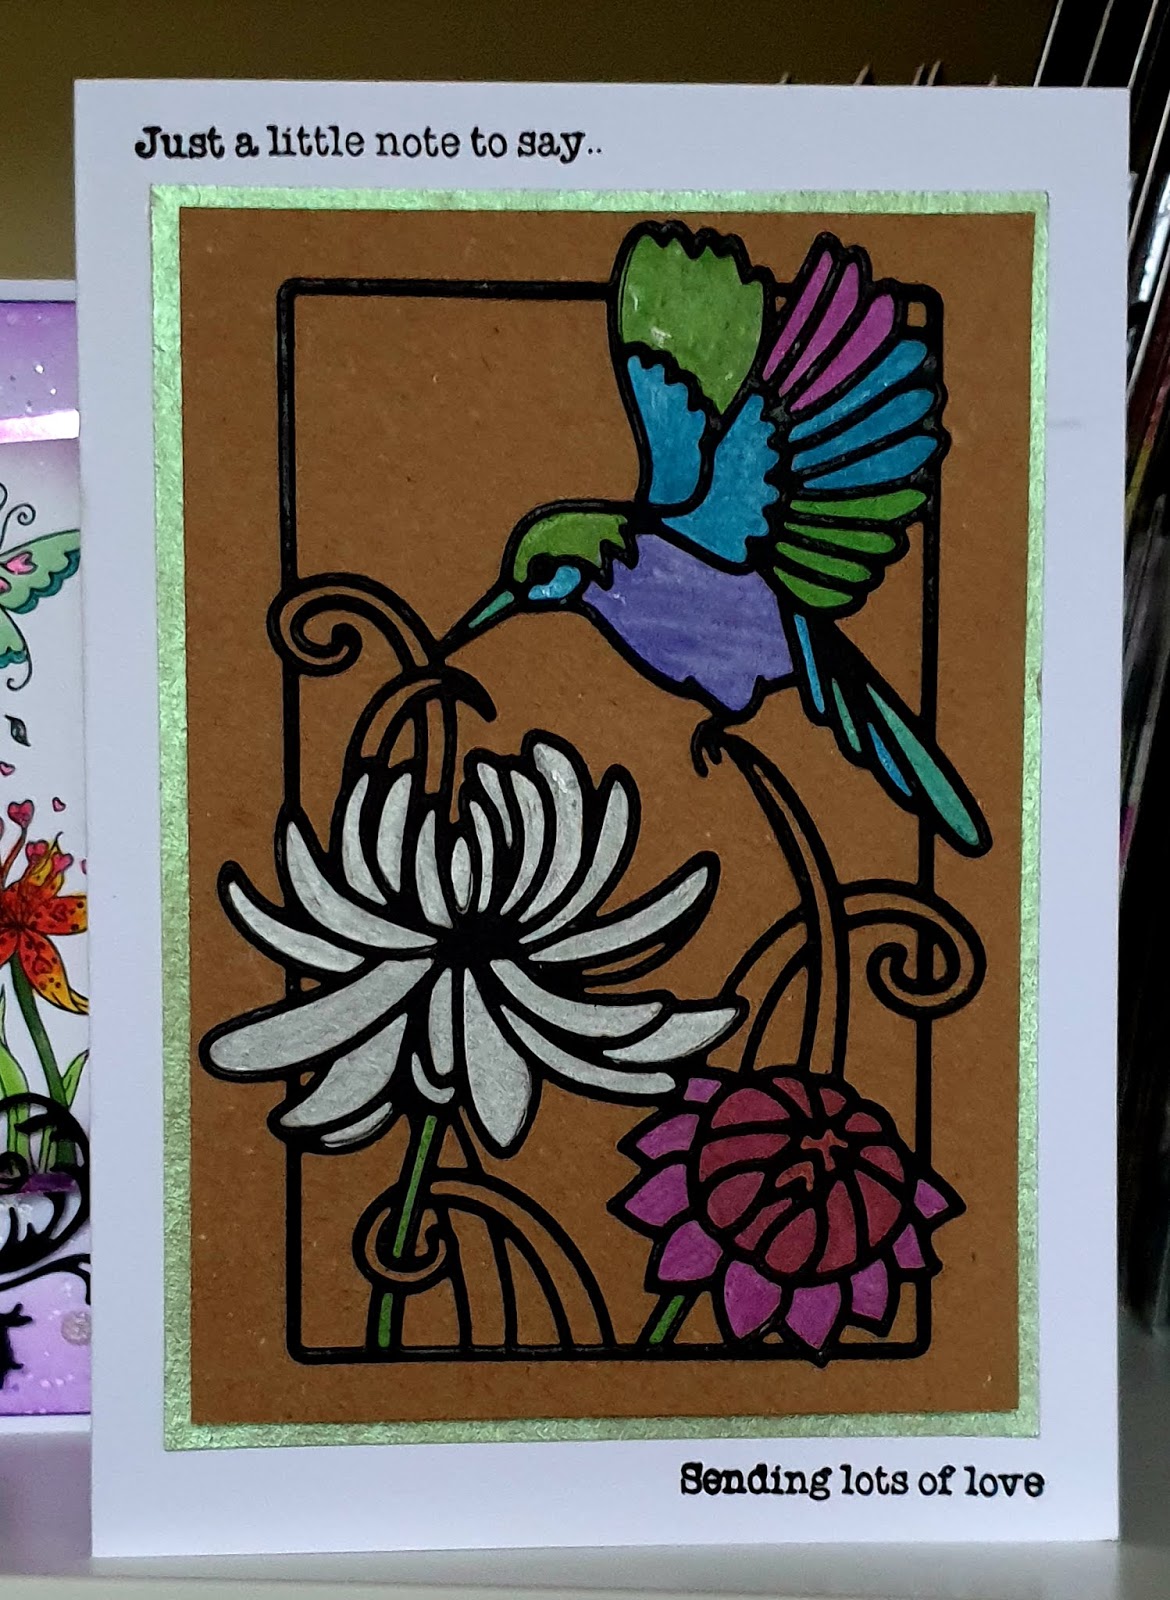
The Blue Bird die has been placed onto Silver glitter card and coloured with the Tri blend pens


So now it would seem that all depends upon the current situation and I will  wish you all well and see you soon xxx
Here's hoping that it won't be too long 🤷‍♀️🤞🙋‍♀️

Wednesday 11 March 2020

Pop Up Box - Crafters Companion

Hi! No time to chit chat unfortunately as I am under pressure and feeling stressed right now with my next demo this weekend and don't have everything I need so I must do what I can with very little time left, so I made the decision to give you a chance to try out these new dies from CC, they are lovely and I will definitely enjoy making them. What are they ??? well I can tell you that they are the new Pop Up box dies with sets of stamps and dies to embellish them, and
with several different designs to choose from.
So without further ado you will need to bring your Tri blend pens or other marker pens to colour with, a trimmer would be very useful as you will need to cut the panels that decorate your box, tape runner if you have one, tacky glue, finger daubers or blending tools and Finesse Alcohol Proof Black ink pad or similar.
I have also used my stamping platform  and Red liner tape.
Not a huge list this week but there's a fair bit of layering and dies to cut, stamp and colour so papers, design and colours may (will) vary  😆  I  have a couple of the sets for you to choose from. If you have any favourite papers you would like to use then please feel free to bring them.
Will add a photo shortly to see the one I did today
See you soon x
Sheilagh
Finally a photo of the box I made ignore the numbers, I did it as a 70th birthday  you will be able to customize yours in class x
 This is the Birthday theme set I have used but there are other sets to choose from

It will fold flat to fit into an envelope

The background paper will be different to mine as I just don't have enough in the paper pad to go around everyone in class

Wednesday 19 February 2020

Vertical Word Dies by Crafters Companion - Background Designs by YOU!

Hello folks, I'm here to tell you what's on offer for this week's classes and I will start with the new Vertical word dies with Sentiment stamps included. There are a few to choose from but I decided to go with the Happy and the Wishes sets, very easy to use and they create really quick cards. Together with these sets CC also brought some A6 stamp sets to use alongside the word dies which create the backgrounds but no doubt you could use what you have in your stash that would work in the same way.
Because these cards are only A6 in size they will take no time at all to recreate so I decided we will make another card using the word die as well as the Gemini In Full Bloom die set.
As it says in the Title on the A6 cards you will be the designer and choose the colours and which stamps you want to create your background with, I have made a couple of samples to give you some ideas.
I  have used.....
Harmony blending ink pads
Luna Paste Stella Champagne
Blue Pearl Opal polish
Gold Marker Pen
Cut n Dry foam
Clear Sparkle Pen
Stickles glitter glue
Black Versafine ink pad
That's probably about it so see you soon x
 A6 card size

 These are the colours I used but you can choose different one's
 This background was made using the Quick dry ink pads

The flowers are painted with the blending inks and the clear Sparkle pen


Embossalicious 8x8 embossing folder

It's a pity that you can't quite see how shiny the Luna paste is on the embossed background

Wednesday 12 February 2020

Surprise Christmas!!! Christmas Surprise ???

Hello everyone! bet you weren't expecting me to mention that C word so early into this year, well as we have said in the classes before we would possible do a Christmas themed class once a month this year just to mix it up a bit instead of making all the Xmas things at once so here is the first and we shall see if we can keep it going 😁
Blending inks
Harmony or Distress
Grasshopper or Mowed Lawn
Midnight  or Chipped Sapphire
Ocean  or Salty Ocean
Chinese Red or Festive Berries
Spring Meadow  or Shabby Shutters
Clear Embossing powder
Versamark ink pad
Versafine ink pad
Anti Static Bag
Blending tools
Silver Gilding Wax
Tri blend pens or Alcohol markers
Yellow Lime Opal polish
White Texture paste
Silver Embossing powder
White Embossing powder
So to the first Christmas cards of 2020 lol!
 Both cards are 7x7
The die cut tag has texture paste through a stencil as part of the background
 The die cut tag has two layers and the top one is  parchment, the bottom one cardstock
I have used my pens to colour the Poinsettia and Robin

This card still needs some ribbon through the tag
That's me done for another week, see you soon x

Wednesday 5 February 2020

Sultry Sue by Molly Harrison

Hi! Very quick post this week just to let you know what we will be using for the class Thursday 6th February
I decided that we could do with another relaxing class as everyone enjoyed last week's with the mica paints so I have gone with one of the new Molly Harrison stamps and my Tri blend pens along with a nice inky background made with the Harmony ink pads, blending tools and a touch of Clear Sparkle glitter ink. You can choose to make yours in any colour so bring pens or paints of your choice, whatever makes you happy whilst colouring
Thought it also might be nice to use the outline die Pretty Petals again and this time I have cut away the frame to give it a different look
How quick was that. Oh! by the way a Black Ink Pad if you are painting it should be a waterproof one, if you use Alcohol pens then it should be Alcohol Proof like Finesse or Memento
That's all for now see you soon x

I did use Harmony ink pads but also Faded Jeans and Mowed Lawn Distress ink pads
 7x7 and 6x6
Cards


Wednesday 29 January 2020

It's All About The Outline

Hi! Just a quick post for this week as I'm busy trying to make samples for my Demo this coming Sunday and time just doesn't want to be my friend right now but hey! nothing new there then lol!
So I thought we could all try out these new Outline Dies and stamp sets and of course they are  from CC. Very easy to use and in so many different ways, so that's a thumbs up from me 👍quick and versatile.
I started with the Majestic Humming Bird die set then tried the Pretty Petals, there are a few different designs to choose from.
I have teamed them up with my Metallic pens and my little pots of Mica paints which we haven't used for quite some time so you will need a very fine paint brush and a little patience but that's the perfect combo for a relaxing class, let's see what you think..........

The Mica paints work so well on dark cardstock
Tacky glue in a fine tip applicator bottle
 This Humming bird has been die cut from black card and put onto Kraft card then coloured with the Metallic pens

This one has been painted with mica paints and I have highlighted small areas with 3D glaze
(just like Glossy Accents) to show you how different it can look

Both cards are 5x7
Just to let you know I decanted the glaze into a clean fine tip bottle to be able to get into the really small areas, if you click on the photo to enlarge then you should be able to see the glossy parts
Think