MY CRAFTING ADVENTURE

My journey through crafting collecting goodies along the way x

Monday, 26 September 2016

Entwined Holly Box - Sara's Traditional Christmas Panel Die

Hello there, back from Chesterfield and I have to tell you that if you ever get the chance do go pay Crafter's Companion a little visit as the new store (which is surrounded by lots of other lovely shops) is Amazing it is so well stocked with not only there own products but lots of others also, sooooo many goodies and the feedback from all the customers was just wonderful so I for one can only imagine what the flagship store in Doncaster must be like, one day lol!!!
Okay lets get straight back to our crafty classes and because this was requested by a few of you lovely people we are going to make a rather nice tall box with one of the panel dies from Sara's Traditional Christmas range and it turned out really well even if I do say so myself.
Instead of choosing the original one I first made from the black cardstock I have gone with white cardstock and Colour Cloud ink, Indigo Mist was my choice for this project.
Ok. Who forgot to take any photo's? Oh! I guess that would be me then, back soon to update this post, won't be long honest
Back now, as you can see in the photo above I have gone from this plain white cardstock template I made and cut it out twice to form the body of my box.

 The box is constructed in four parts, the main body (two parts) the base and the lid.

The panels on all four sides have been die cut.


Behind each die cut panel there is a vellum embossed panel which I glued in place with my Tacky glue, I also used this to construct all the parts of the box.
It would look just as good if you were to use acetate in place of the vellum.


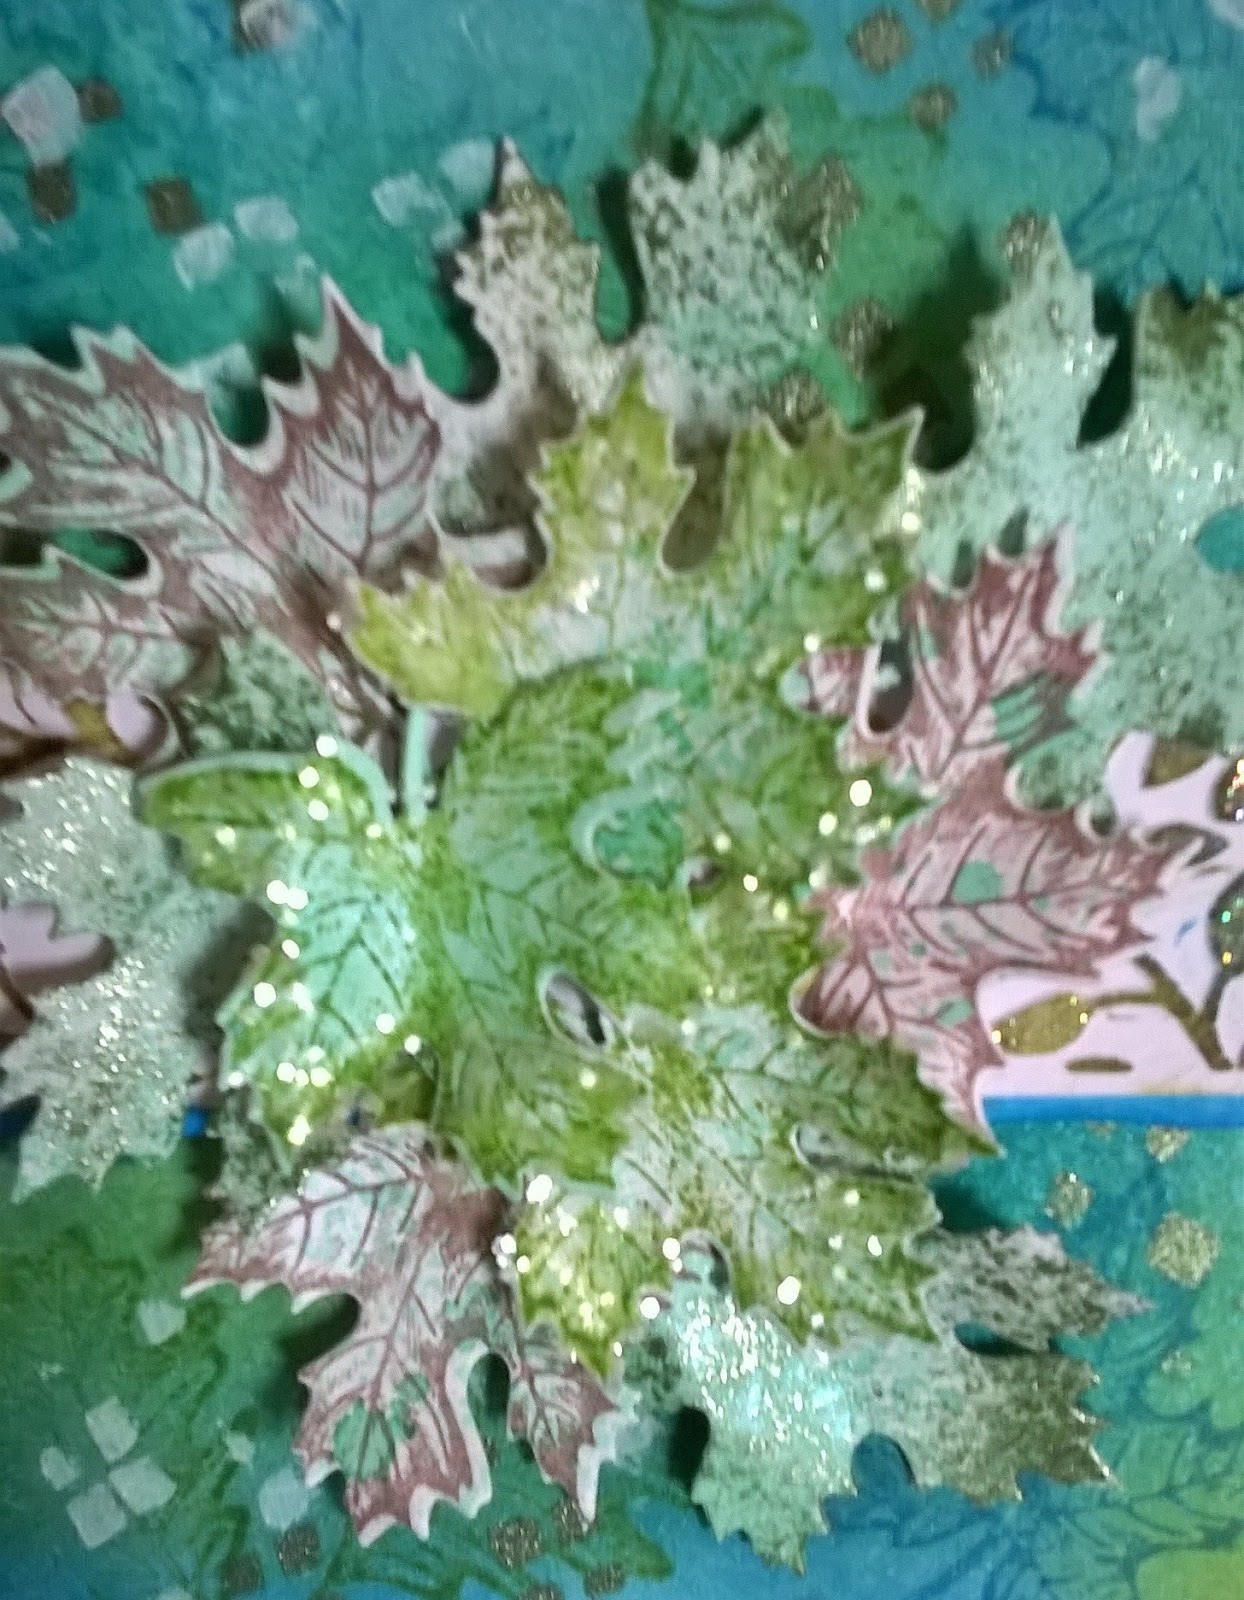
You can see in this photo the lid has been embellished with die cut leaves, the Holly leaves are from Sara's Contemporary range and the larger leaves are from her newest range Autumn Morning.


I coloured the holly leaves with my Colour Cloud ink and the larger leaves have been sprayed with Stick and Stay before adding the glitter.

I haven't mentioned yet that all the scoring has been done on the Big score board and I used my brayer and blending mat to colour the main body of the box which worked out rather well as it gives a very soft distressed look which you might not pick up on from the photo's.

I thought this box would be useful to pop a present into such as a candle or of course chocolates and give as a gift, you could always make a card or tag to match.
It is much prettier in real time as once again my photo's are a bit rubbish, hopefully I will have the time in the next week or two to get my camera sorted out on my tablet x
See you soon x
Sheilagh


Monday, 12 September 2016

Enchanted Reindeer in a Winter Wonderland

Hi! What are you all up to? I'm just taking a twenty minute break from my sample making to bring you all up to speed with our classes for this week, I'm so busy right now I have quite a few demo's coming up starting this Saturday then on Sunday evening I'll be driving up to Chesterfield to demo at the launch of just one of the new Crafter's Companion stores where I will get to meet some of our newly appointed  demonstrators who have only recently passed the training course (no pressure ha!)
I've been given the task of showing everyone the brand new Colorista Range that launched just last week on Hochanda and I have only just unpacked it yesterday so I'd better get a move on lol!
It's quite time consuming when you are given lots of different goodies to make your samples from as you might imagine one gets easily distracted and having enough samples is the key so it looks like I'm on overtime in the craft room this week, the word Help!!!! springs to mind.
So press the automatic button for fast forward lets go................................
Here are the cards made with the Create a card dies from last weeks demo, Louise thought it would be good to make them in class.
Card one is 7x7 square.

Here I've used the beautiful Enchanted Reindeer 5x5 Create-a-Card Die which has been cut from Kraft card and Gilding Polishes applied over the top.


The sentiment stamp is from Sara's Contemporary range, stamped in Forest Moss Distress ink then I applied my glue pen over the top before adding some Glimmer Dust.

For card two which is a 6x6, I created the background onto water colour card with my Pixie Powders Midnight Blue, Midnight Sky and Silver Dream and my trusty spray bottle of water.


It looks much nicer in real time as you don't really see the mica shining in the background.


As you might of guessed once I had die cut my Winter Wonderland I used the Pearl Gilding polish and stenciled it through the die, it is such a lovely effect onto plain white cardstock.


The Christmas sentiment is a die from Sara's Contemporary range as is the small snowflake onto of the bow.

I have used a small 6x6 embossing folder from my stash to make the layer behind the main image panel.
I have also applied the Pearl Gilding polish to this.


Still trying to decide whether or not to add some ribbon to the Reindeer card or maybe just some gems.


Nice and simple for a change, a little bit of die cutting for a stunning effect to your Christmas cards.


See you soon x

Sheilagh

Wednesday, 31 August 2016

Bubblebloom - Woodware

"Good Evening" well it might be if I can stay awake long enough to complete my post we shall see lol! its just been one of those days, worked on the class cards for tomorrow and finished around just after lunch which was good going until I came back to my desk and decided that I really wasn't happy with my second card, so in my infinite wisdom proceeded to start anew Ha! That's when I should have realized it wasn't about to get any better. Brain is in Christmas mode working towards demo day on Saturday and class this week is definitely not Christmas HELP!!!! What should one do, the first card came together no problem but once I had decided to change the second I just reverted back to all things cold and frosty blue, it was time to get tough and heat things up and voilĂ  it happened I just had to create my own little heat wave, so I did just that, think you'll know what I mean when you see the finished product lol!!
By the way the stamps I  used are from Woodware, Clear Magic Singles - Bubblebloom Lilly and I do believe it was on TV at some point today, pure coincidence but obviously good taste. These stamps make such an impact yet they are so inexpensive and very versatile.


Card one is 5x7

I have created the background on white cardstock using my Pixie Powders, Sun Yellow, Midnight Blue and Rich Gold.
I used a very fine mist spray bottle and water to activate the Pixie Powders.


The Bubblebloom flower has been stamped in black Versafine and embossed with Clear Powder then painted with the Pixie Powders and Embellished with Gems and Holographic peel offs.


Card two is 7x7


The background has been made with Distress inks Ripe Persimmon, Festive Berries and Fired Brick.

I have used a very fine tip paint brush to paint some of the detail into the stamped and embossed flowers. The main image is Stamped in Clear ink and embossed in Gold Powder.


 As you can see  by the colours used on this card is what I meant  by a Heat Wave.  I wanted it to be warm and vibrant
maybe because it's the first day of Autumn tomorrow and who'd of thought it so soon! whatever happened to Summer did I blink and miss it, think I was poorly when it arrived and haven't had time to catch up with it lol! Oh well it will be all things Christmas on Saturday at our demo.


PIXIE POWDERS by Cosmic Shimmer- Creative Expressions
Love them!
But I say that about a lot of things and it's True x


Ok that's it for now  I will see you later or maybe you will pop in and see us on demo day this Saturday 3rd September at the shop (Crafty Knits - Gillibrand St. - Chorley - Lancs) Facebook Crafty Knits.

CRAFTER'S COMPANION DEMO DAY


Sheilagh


Monday, 29 August 2016

Blue Bird to Red Robbin - Stampendous

Hello, sorry I ran out of time last week to post on the blog just one of those times not to worry, anyhow I thought I should let you know what we are making this week well Tuesday anyway it will all change again before Thursday.  I have used a set of stamps from Stampendous and these cute little birdies can be for any season but I just couldn't resist the Christmas season as I have been making samples for my next demo with all the lovely new Christmas dies from Sara's Signature Collections and Crafter's Companion.
Not going to go on about these stamps as they speak for themselves and I am just about out of time so this post will be the shortest one I have ever made.


Photo's aren't the best but I took them in quite a hurry so please forgive me.


Distress inks
Festive Berries
Fired Brick
Frayed Burlap
Bundled Sage

Black Versafine
Blending Smoothies
Fine tip paint brush


The center panel die cut is the Oval frame from the Downton Abbey range and the sentiment comes from Sara's Signature Collection Contemporary Christmas.


The bird has been painted in to resemble a Robbins, I did add a hint of Solar Red Sparkle Pen just for a finishing touch but you can't really see it in this photo.


Embossing folder is from the Nordic range which was out last year Diamond Snowflakes 8x8.


I created a background with my Pixie Powders before stamping the bird and embossing with clear powder, the leaves have also been embossed in clear powder then painted with Bundled Sage and Silver Pixie Powder on top.


Pixie Powders
Silver Dream, Midnight Blue.


Quickie glue pen and Diamond Sprinkles glitter.

Well I said it would be quick so see you all soon x

Wednesday, 17 August 2016

Snowflake Tree - Tranquil Happiness Couture Creations

Hi there, almost forgot to blog this week's classes guess it must be this glorious sunshine I'm mesmerized by so in order for me not to miss too much of it I'm going to be quick on this post.
This week we are making our next lot of Christmas cards and to do this I used this lovely 5x7 Snowflake Tree design Embossing folder  from Couture Creations which they call Tranquil Happiness. It is quite wonderful what you can achieve with simply a piece of white card and an embossing folder and maybe a touch of other goodies you keep in your stash.
One design but two completely different looks and they really do look much better in real time, once again I must apologize for my poor photo's as you just don't get the whole overall effect like you would if you could hold them in front of you.
Anyway take a look and see what you think.
For some strange reason Mr Blogger isn't a happy bunny today and won't let me type my descriptions next to my photo's like I normally do so I will just give you a very brief description of what each card has been made from then add in the photo's after, so card one is a C5 and the tree has been embossed onto black cardstock then cut out and highlighted with Gilding Polishes Gold, Copper and Turquoise.
The background has been embossed onto white card but I added Tumbled Glass DI to the folder with my brayer, and the snowflakes have been cut from Kraft card then sprayed with Stick and Stay before adding the glitter (my favorite of course, Iced Snow by Cosmic Shimmer)
Card two is 5x7. The same principal has been applied to this card just a change of colour to Shaded Lilac DI, the same with the snowflakes but white card this time and a couple of extra little snowflakes that have been stamped and embossed onto acetate with lilac Wow powder. The sentiments have been stamped with Dusty Concord DI. I added a touch of Crystal glitter to the little birds with my glue pen and Glamour dust. Think that might be everything so I will just add the photo's for you to see then I'm done for today Ha! I wish, my delivery from Crafters Companion has just arrived and two of my Grandchildren need running home not to mention getting the cat some food or I will be persecuted all night by one hungry angry black cat, off I go so see you all later x


Monday, 8 August 2016

Autumn Inspiration - Issue 11 Crafters Companion

Hi to everybody at last I'm back in the land of the living so to speak and I will make a mental note to myself at this point never to say that I am taking a break or a holiday ever again out loud as it seems to be the biggest jinx ever for me, once again I became ill with yet another chest infection and was feeling really poorly so spent the last week and longer in bed and to make matters worse I just couldn't stop coughing but thankfully now it seems to have subsided and I'm finally starting to feel better so it's back to work for little old me! boo! hoo! Just kidding.
I thought we might put our Inspiration magazine goodies to the test this week and I have to say that they have done it proud once again as I am loving the dies and matching stamps I found them so easy to use and they will most certainly work for many different projects not to mention working so well with lots of other goodies you have already in your stash, these items will never go out of fashion, so so useful.
Lets look at my take on a couple of cards as I found after reading the magazine to be really inspirational and let's face it that's always a big plus when your brain is definitely not in card making gear lol!


Okay sorry if this photo is a little out of focus but you get the idea.
I have created the background panel with my Peacock Green Pixie Powder (which I mixed in a little water in a spray bottle) and my Salty Ocean, Shabby Shutters and Mowed Lawn Distress inks. I stamped on top of the inked background then using a mini stencil, Green Starlight paint and a stencil brush to create a more textured look. The border has been embossed in the vine folder which also comes free with the magazine.
 The card base is a 5x7


As you can see I have die cut several leaves some have been over stamped with the matching stamp and Rich Cocoa Memento ink and Mowed Lawn but some I have left plain and just highlighted with the Starlight paint.


I used my Collall Tacky glue and Cosmic Shimmer Iced Snow glitter to add a touch of sparkle on a couple of the leaves


This time I decided to stay with a smaller card, this is a 6x6


I thought this card would be suitable for a male or female that's why I have kept it very simple and just used the leaves which have been die cut as the main focal image.


I made some coloured background card with two of my Pixie Powders Lava Red and Scarlet Mist then when dry I added in some Colour Cloud Sunlit Cedar and a touch of Ripe Persimmon Distress ink. The leaves have all been die cut before stamping and heat embossing with White Powder on the coloured card and Gold Powder onto the black die cut leaves, I have used a Clear ink pad for both lots of powder.


The center panels are die cut then inked with Colour Cloud Basil Leaf and the Sunlit Cedar.


The sentiment is from the free stamp set and stamped in black Versafine.


Well that's it for now so I'll see you all soon and I hope that everyone is fit and well and ready for some Autumn crafting even though it's still Summer lol!
Sheilagh