MY CRAFTING ADVENTURE

My journey through crafting collecting goodies along the way x

Wednesday, 15 March 2017

knotted Bark with Create a Flower Re Visited

Morning folks, I made the decision to keep things a wee bit easier for our next classes and what could be more simple than to use a background stamp and the very same flower dies that we used in our last lot of cards. This time I  chose to use black  card for the flowers and being them up with some Gilding Polish and a wonderful new product from Creative Expressions called Glitter Kiss. Its very easy to use, comes in lots of different colors and the best thing about it is it dries so fast, I do believe you will all be impressed once you've used it. The background stamp is also a new design from Creative Expressions and looks just as you might imagine from its name, Knotted Bark!
I will give you a list of the ingredients for our first card which by the way is 7x7 as I  haven't taken any photos yet but I shall add them in later today.

Black Versafine ink pad
Memento London Fog
Graphite Gilding Polish
Glitter kiss  Sand Gold and Silver Chrome
Sheena Create a Flower die set from the magazine
I have also used the new swirly die from Sara's newest collection Shabby Chic
See! How simple is that. If only you could see what it looks like, such a tease lol!  Right now for the second card which I need to go finish so I will be back in a short while to tell you about it and put some photos on as well, see you later 😊

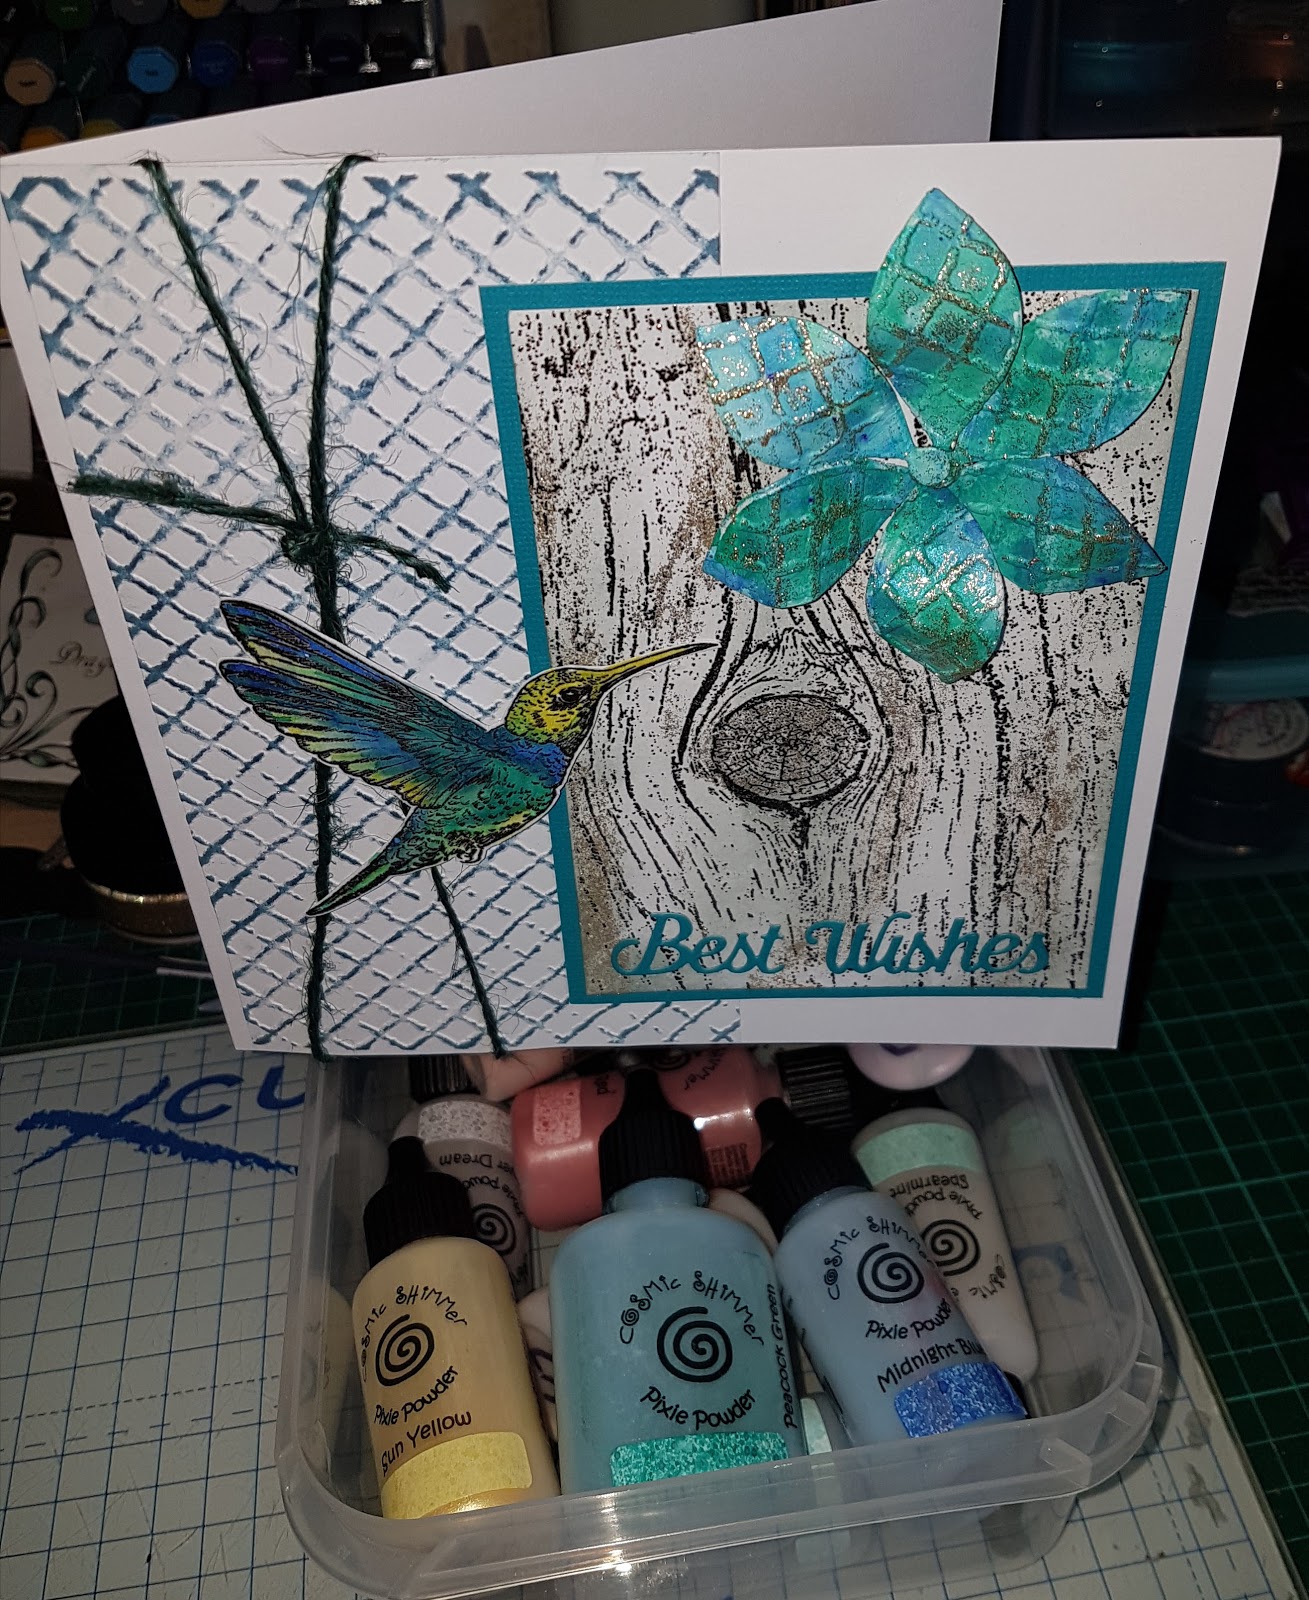
Just got everything finished so here is a list of the things I used on the second card.

Stormy Sky and Iced Spruce Distress ink pads
Black Versafine
Clear Powder
Pixie Powders Peacock Green, Midnight Blue and Sun Yellow
I teamed up the Knotted Bark stamp with Sheena's Little bit Sketchy Tropical Nectar Hummingbird and I think it has worked out really well.
Again I have added in a touch of the Gold Sand Glitter Kiss, I'm loving this new product..........

Sorry cannot get the photos to upload from my phone so I will just have to try again later x

 Hooray!!!!!!

Finally, just added a couple of the photo's to give you some idea.


See you soon x


Wednesday, 8 March 2017

Create - a - Flower & Autumn Leaf Bouquets

Hi! Sniff sniff, cough cough! Yes that's me since last Friday YET! ANOTHER blooming cold so I'm not going to linger on this as I  need to gather up as much germ fighting energy as is humanly possible ready for tomorrow's class. Promise I have hand gel on the go!
Don't blink or you might just miss it cause this is gonna be quick!!!!!!!


Black Versafine ink

Clear Powder

Distress inks
Antique Linen
Tumbled Glass
Abandoned Coral or Worn Lipstick
Bundled Sage
Squeezed Lemonade

Pixie Powder Scarlet Mist

Pearl Gilding Polish


Autumn Leaf Bouquets stamp set
From Creative Expressions

Create a flower die free in the last issue of the Inspiration magazine


6x6 Card.


Flowers have been die cut from Water Colour card stock.


Quite pleased how this one has turned out and the dies are so easy to use they make quite a statement!


7x7Card


I have used one of the new 8x8 stencils by Sheena for the background called Barking Mad.


I haven't quite finished this card yet as I was some what interrupted by a coughing fit so had to stop, think it is just short of the right kind of sentiment, will dig one out later.


Above I used the Basket Weave Embossing Folder and inked with the Bundled Sage.


I think under the circumstances and me being under the weather I will leave this one to your imagination and let you decide on how to finish this card yourselves.

Would I ????????????


See you soon x


Wednesday, 1 March 2017

Just The Recipe - Gingerbread Men and Tag

Hey! How's it going folks ? Too fast for my liking but there you have it 1st March already and I'm up to my eyeballs in plaster dust as the lounge has been stripped of all its contents including the wallpaper and is currently being plastered as we speak on all four sides, but I must say what a difference it will make when it is re painted although I'm not looking forward to the paint work as I can't stand gloss painting would much rather do the emulsion and wallpaper, anything but gloss lol! If anyone should feel the need to volunteer please feel free ha! ha!
No takers then! So I had better move on with and I can't quite believe that I am saying this myself but our first C as in Xmas card of this year and it involves the Gingerbread Man oh yes indeed!
Cute  and useful well sized Tag with Gingerbread man Stamp set which also has a couple of sentiments included. Well I guess there's nothing wrong with getting a head start and if you are anything like me you sure will need it 😀
Let's see what you think.....................
OK so here is our little recipe for the class.......

White embossing powder
Clear Powder
Black Versafine

Mowed Lawn and Stormy Sky and Black Soot D ink pads

Gold Gilding Polish
Cobalt Alchemy Wax

Black Fine pen
White Gel pen

Adirondack Alcohol Inks
Red Pepper
Denim
Bottle
Citrus
Alcohol Blending Solution


Sara's Contemporary Christmas Decorative Holly die set

Blending Smoothies and Cut n Dry foam


7x7 Card

Falling Snow Embossing folder

I have to tell you that the actual Recipe stamp is one from a set I have in my stash and is not available at the shop, sorry. You can by all means copy it by hand if you decide to make more just write in onto a die cu tag or print it from your computer.

I just had to use it as I thought it was perfect for this occasion.


The Holly leaves have been die cut from Silver mirror card.


Card two is a 5x7


The background is embossed with one of Sheena's Christmas folders.


The largest tag and the center Gingerbread man have been colored with the alcohol inks used on glossy card, you can create this Tartan effect with just two or three colors and a touch of Blending Solution.


Well I'm done now for another week so I will go back to my mess that is my downstairs and see how far my brother-in-law has managed to achieve, it's going to be well worth all the mess once everything is finished.

See you soon x


Wednesday, 22 February 2017

Family Tree - Sue Wilson Dies

Hey how late can one get before you remember to blog your next classes and then when you do remember your stupid Google account won't let you get into your blog so I  have been sat for ages trying to sort it out and after much messing aground it just decides to open up all on its own. Finally!!! What is going on ?????? Never had this problem before, so I had better work fast in case it all goes Pete Tongue !!
Love this Tree Die 💖
No time for many photos so I will tell you the recipe for each card, one is 7x7 and the other is 6x6.


Water Colour Pens
Light blue
Lilac
Purple
Light & dark grey
You can choose different colors if you like they just create the background.


Clear Sparkle Pen
White gel pen


Gilding Polish
Graphite
Dark Cherry


I die cut the tree then used both the negative and positive to create each card.

Not shown in the photo is the fence and gate dies.


The card above is the 6x6 and I have chosen to use two shades of grey in the background but you can change this to whatever colour to prefer. I have used a large flat brush and water color pens with sparkle pen over the top.

The leaves on the trees have been colored with gilding polishes.


I used the Laurel leaves die and Sara's Grand Flora die for the embellishments in the top corner.

No sentiments as yet as I couldn't decide on any.


If you don't have any water color pens you can use Distress inks to paint the backgrounds.

Ok done, don't think I have left anything out but you know me lol!!!
See you later x

Wednesday, 15 February 2017

Zentangled Autumn Leaf Trio + Foldover Flowers

Morning hope everyone is OK, I have to say that I'm suffering at present with the same old menace which of course is that dam arthritis which has settled in my elbow and is giving me real grief and has been gradually getting worse over the last few weeks, and what do you know it just had to be my right arm didn't it !!! Oh well I think I'll be fine once the pain has gone SO! Hurry up and GO why don't you its hard to type with my left hand lol!
For this reason I will make it extra quick or should I say slow and frustrating, that only applies to me so don't worry. Here goes for the next lot of classes.
Creative Expressions Dies + Stamps, think these are going to be so useful and will get used an awful lot as they are such a decent size.


The stamp set as you can see already has the Zentangled pattern on them.


Distress Inks
Mustard Seed
Abandoned Coral
Ripe Persimmon
Seedless Preserves

Pixie Powders
Rich Gold
Aubergine Dream

Black Versafine
Clear Powder

Gold Gilding Polish

Tape Runner


7x7 Card Base


Vein Leaf Embossing Folder

Dries clear glue


If you were wondering about the tape runner I mentioned earlier I used it to add little bits of gold foil to the leaves just to add more interest and texture.


I used the Pixie powders to paint the stamped and embossed Zentangled leaves, and also the Follower flower.


Click to enlarge the photos.


Not taken a photo of our second card yet as I can't decide on a sentiment, but it does need a little something else just to finish it off so I will be back shortly to show you  😃

Just finished so here it is card number two which is also 7x7. I think the stamps made a great background on both panels.

See you soon x

Wednesday, 1 February 2017

Leonie Flowers with a Die'sireable Edge

Hey! How's everyone doing this week I have just managed to finish my BLT lunch and as if you didn't know it its nearly tea time or not long off, I've been busy since first thing this morning with trying to get to grips with samples for the first demo of the season and sort our classes out which thankfully I have done.
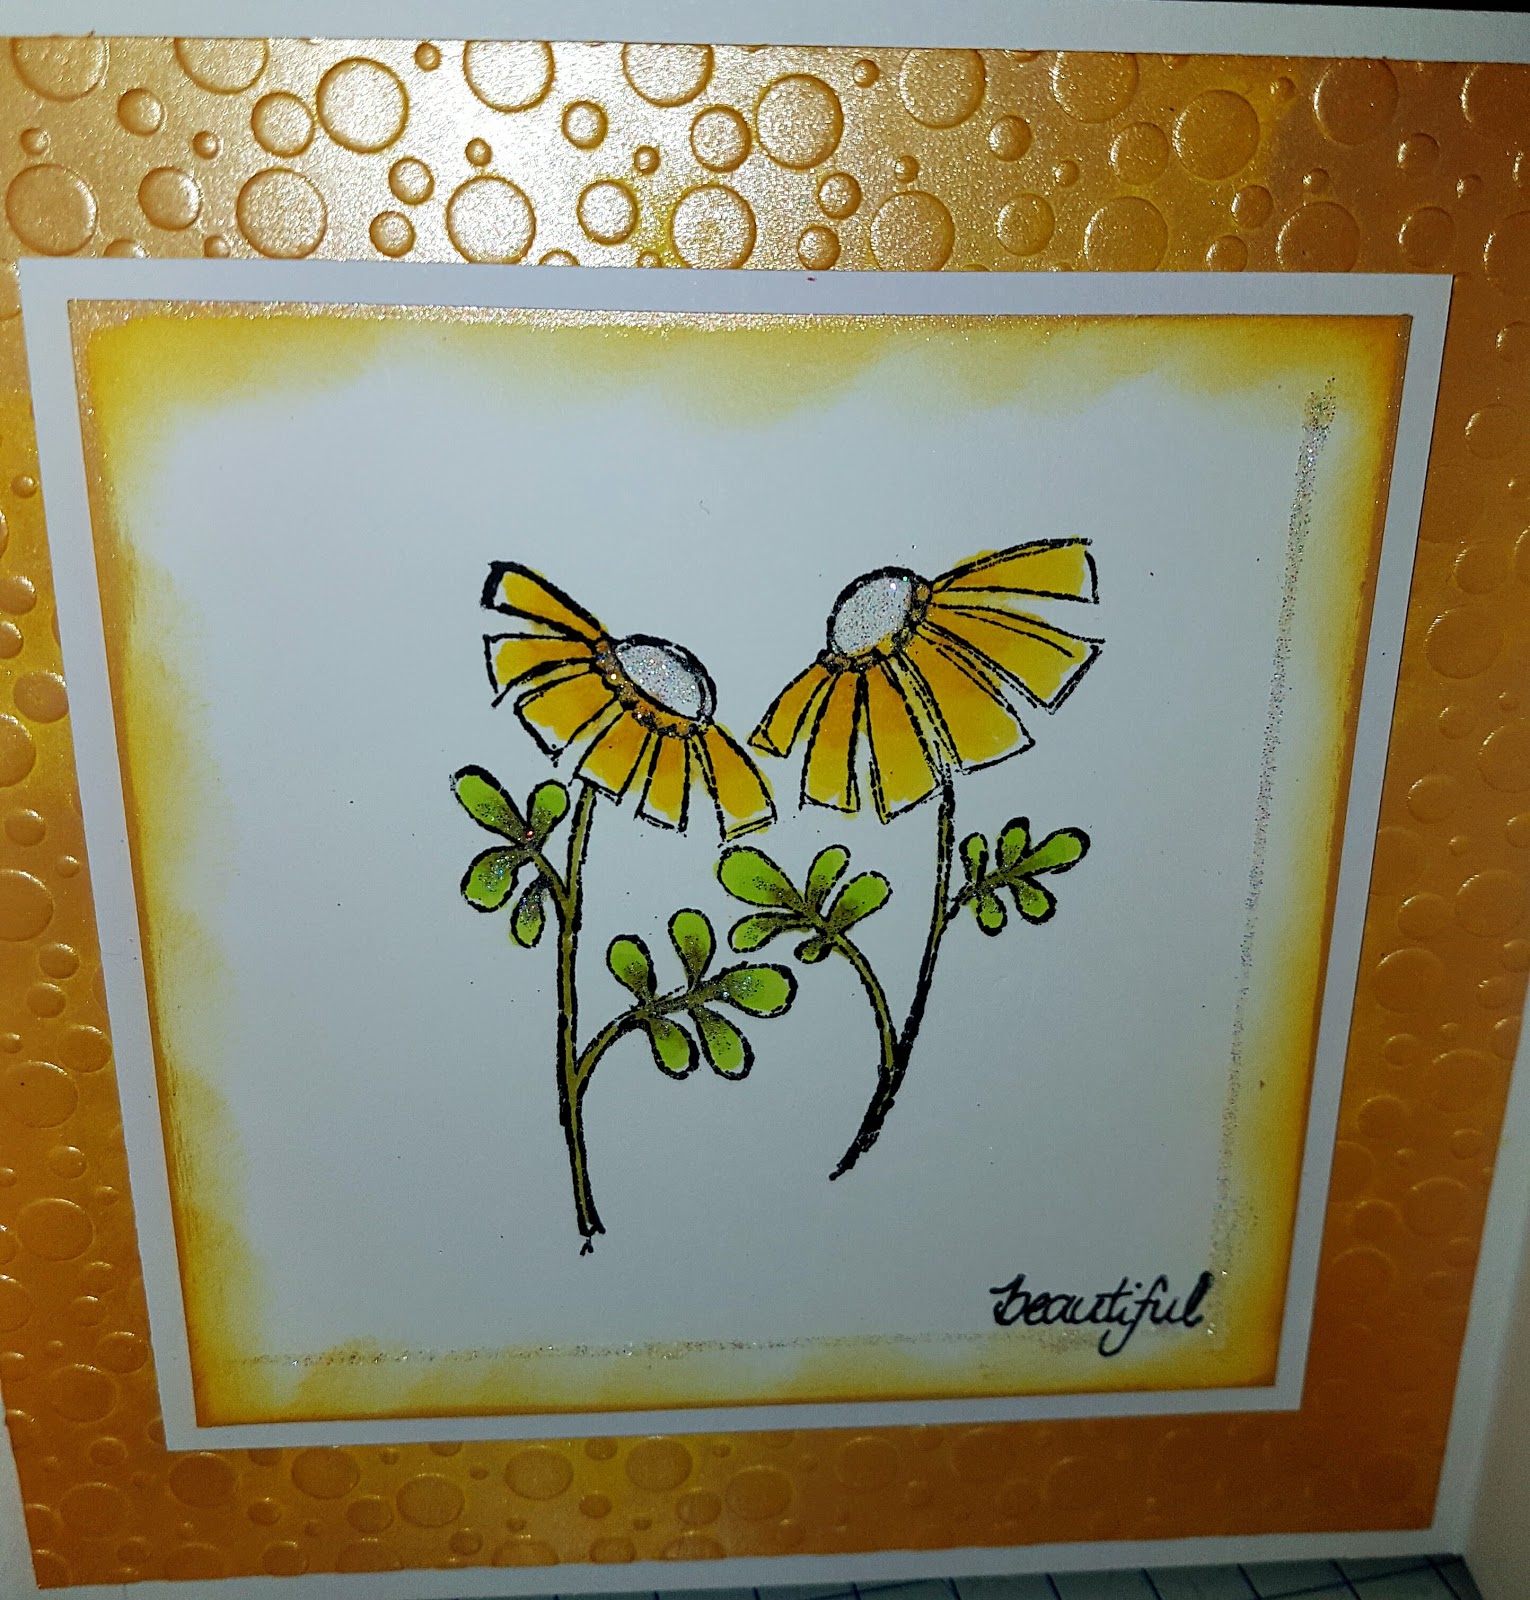
Decided to try out the Leonie Pujol free stamps with this months Inspiration magazine and the new Die'sire Create-a-Card dies from Crafters Companion.  Think they have worked out really well together and I'm happy with the results, by the way they are not available in the shop as yet but I thought you might like to give them a whirl so you can see just how well they cut......... The first card I made in yellow tones I used the Charlotte Die it was actually the first one that I opened and by pure coincidence that is my daughter's name so it was obviously meant to be lol!
The second die is called Sophia and I chose pink shades for this card oh! I should mention that both cards are 6x6 so you can get an idea of the sizes.


It would appear that we are having one of those days when  It comes to showing you the photos I took earlier, some have disappeared to who knows where 🤦


And now my key board is playing up 😯

Here you can see I have used my Alcohol markers to colour in my stamped image which by the way was stamped in Black Memento ink.

I used three similar shades, very light pink, a medium pink and a darker pink.
The same applied to the other colours in yellow and two shades of green. 


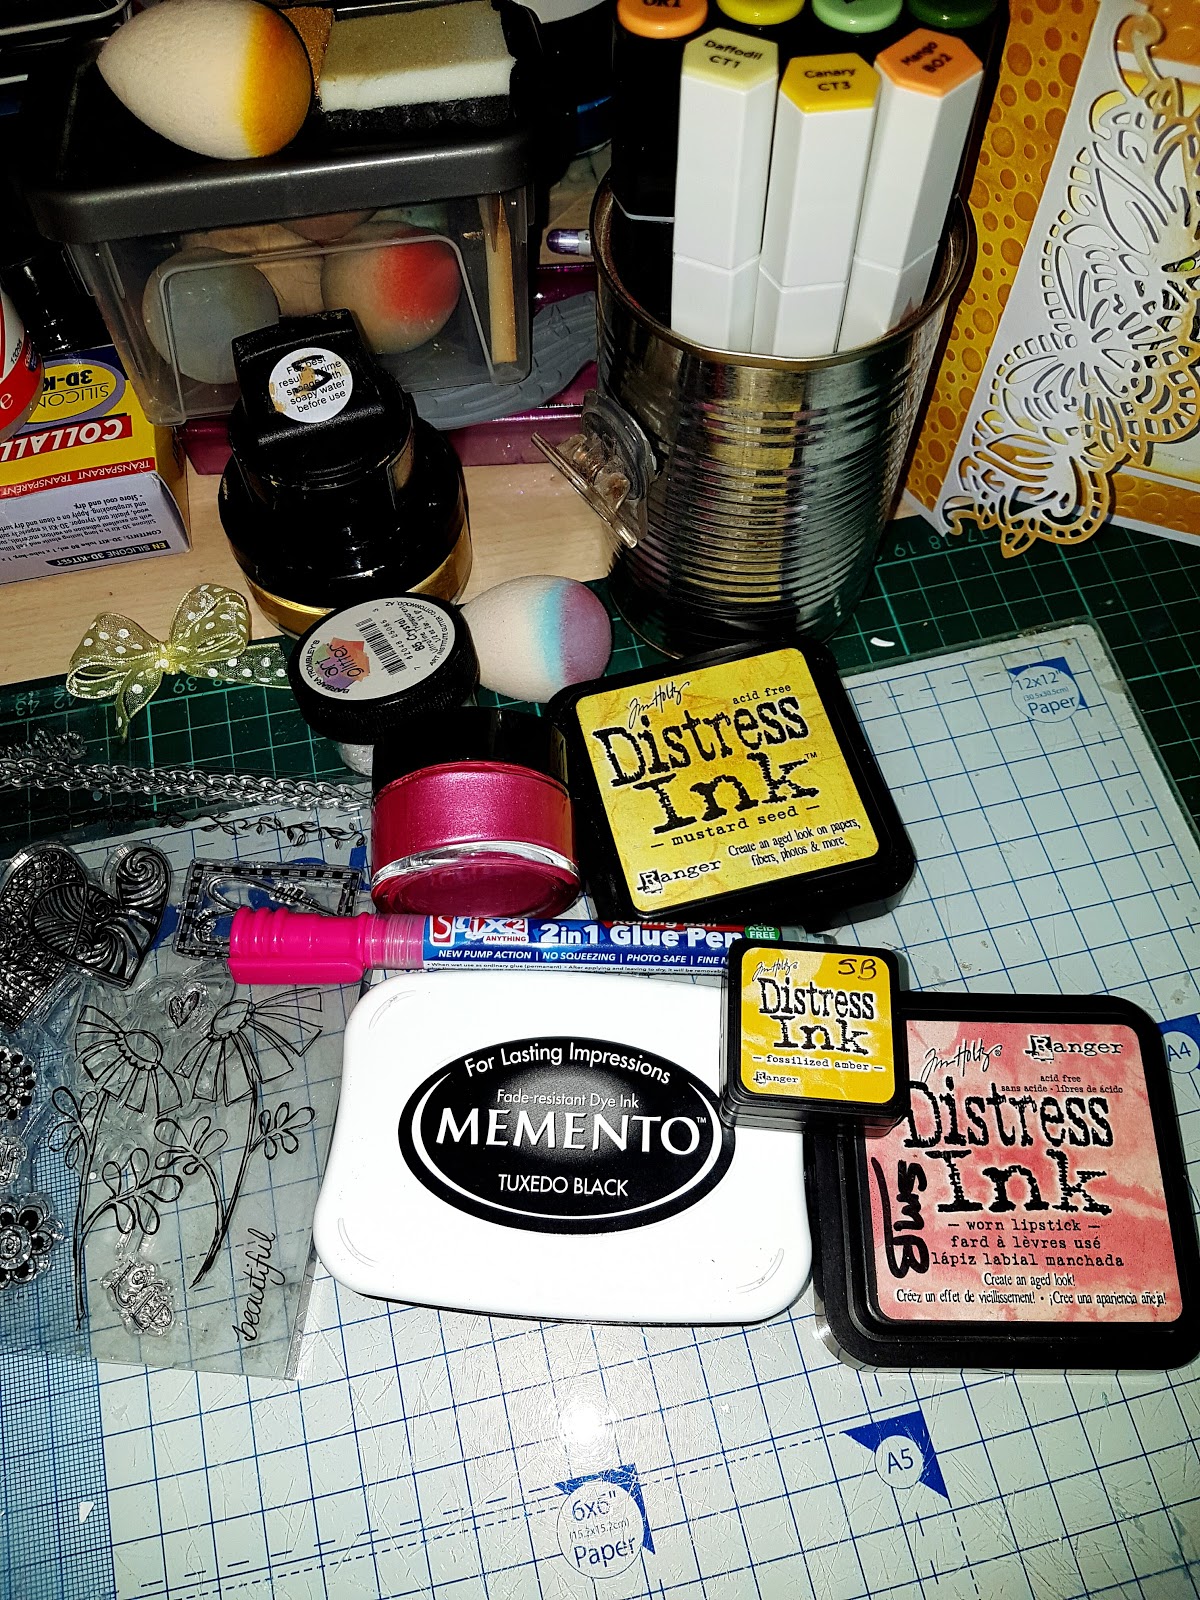
Distress Inks

Mustard Seed
Worn Lipstick
Fossilized Amber


Hay Bale Gilding Polish

Pink Tulip Alchemy Wax


Glue Pen
Crystal Glitter


This is the Charlotte die edged with a hint of the Hay Bale Gilding Polish.


Both cards are 6x6 in size.


Don't know what on earth is going on but my tablet keeps changing everything I'm  typing so If nothing makes any sense I'm sorry, it's even deleted some of the pictures Arrrrhhhgggg!!!!😒


Finally after several attempts to add in this photo it has now decided to stay put so I'm going to finish off here before it all goes horribly wrong again.                          This photo shows you the Sophia die.
See you soon
I blame those White Rabbits you know!  🐰